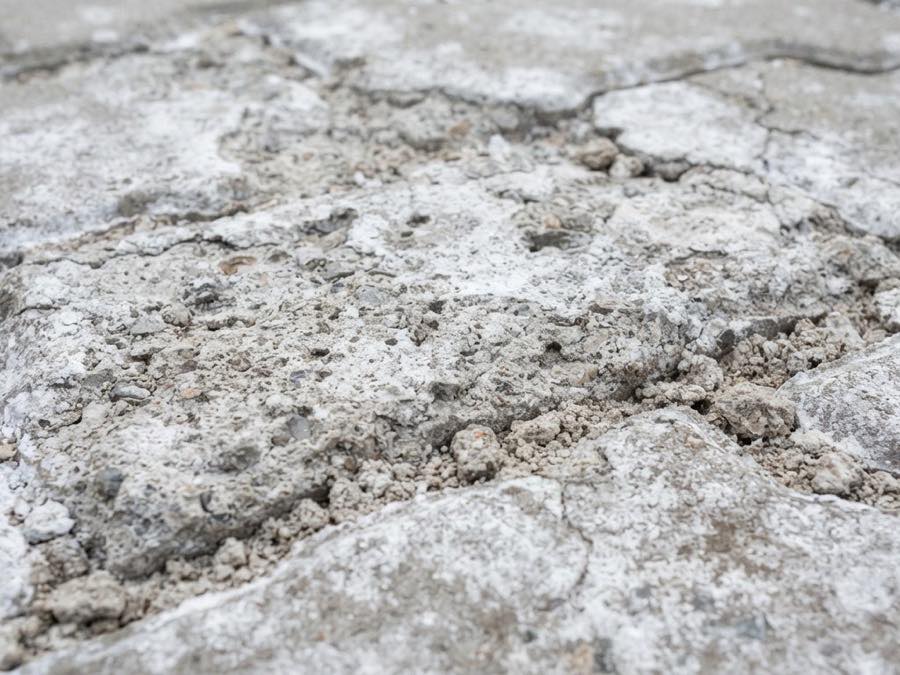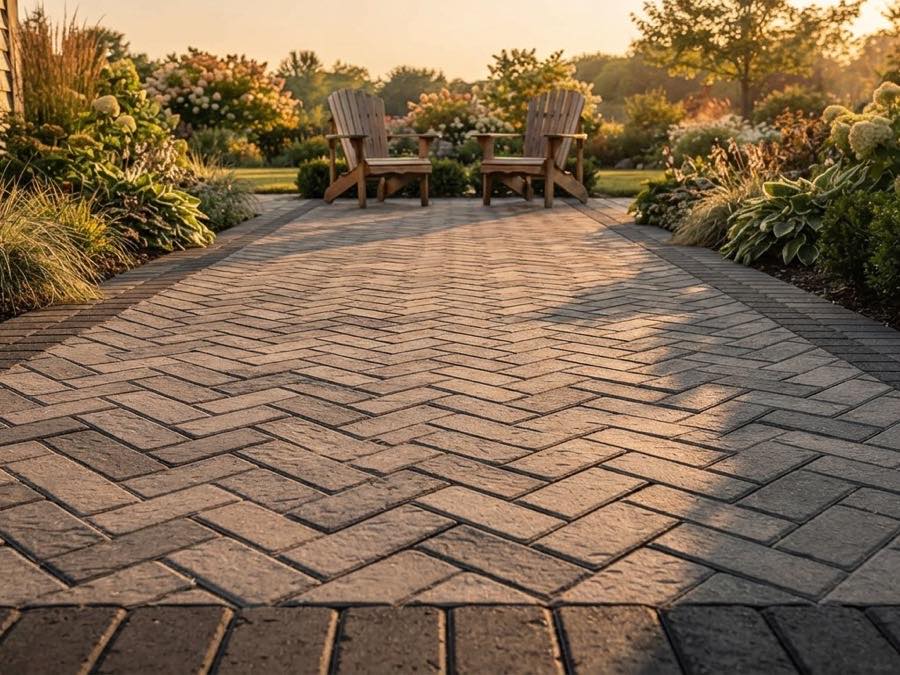
Two patios can look identical on handover day and be nothing alike. The difference is entirely below the pavers, and it is the part of the quote that is easiest to cut without anyone noticing for about four years.
The enemy is water, not weight
People assume interlock fails because something heavy sat on it. Almost never. It fails because water gets into the base, freezes, expands, and lifts the stone; then the void it leaves fills with more water and the cycle deepens. Every layer below is there to move water away and to spread load over ground that heaves.
The layers, from the bottom
1. Excavation, deeper than you would guess
For a walking patio in our climate we excavate 250 to 300 mm below finished grade. For a driveway carrying vehicles, 350 to 450 mm. All the topsoil comes out, because organic material decomposes and leaves voids. You dig to undisturbed subsoil, and you dig wider than the patio itself by about 150 mm on each side so the edge has something to sit on.
2. Geotextile, on anything questionable
A woven fabric between subsoil and gravel stops the two from mixing. Without it the gravel slowly migrates down into soft clay and the base thins from below. It costs very little on the scale of the project. On the heavy clay common through much of Markham we treat it as standard rather than optional.
3. Granular A, compacted in lifts
This is where corners get cut, and it is the layer that matters most. Crushed gravel goes in at 150 to 200 mm for a patio, more for a driveway, and it is compacted in lifts of no more than 75 to 100 mm at a time.
That last part is the whole argument. Dumping 200 mm of gravel and running a plate compactor over the top compacts the top 75 mm and leaves the rest loose. It passes inspection by eye and settles unevenly in year three. Doing it properly means three or four passes with a plate compactor per lift, and a slight dampening of the gravel so it binds.
If a quote does not say how thick the base is and how many lifts it goes in, that is the question to ask. The answer tells you most of what you need to know.
4. Bedding sand, thin and screeded
Coarse concrete sand, 25 mm and no more, screeded level and never compacted before the pavers go down. Thick sand is a shortcut used to level out a base that was not levelled properly, and it will rut under load. If someone is putting 50 mm of sand down, they are papering over the layer beneath.
5. Pavers, then edge restraint
Edge restraint is the plastic or aluminium border spiked into the base around the perimeter. Without it the outer row creeps outward every freeze, joints open, and the whole field loosens from the edges inward. It is inexpensive and it is skipped constantly.
6. Polymeric sand, and a proper compaction
Swept into the joints, then the whole surface is compacted with a plate on a protective mat so the pavers seat into the bedding sand. Then the sand is activated with water, exactly as the bag directs. Too little water and it never binds; too much and it washes out and hazes the surface.
Slope: the two-percent rule
Every hard surface needs to shed water, and the target is about 2 percent, or 20 mm of fall per metre, running away from the house. It is not visible to the eye but you will absolutely notice its absence, because water will pool in the middle or run toward your foundation.
How deep are you excavating? How thick is the granular base and in how many lifts? Are you using geotextile, and if not why not? What is the slope, and where does the water go? Vague answers to those four are the reddest flag in this trade.
What this costs you
Doing the base properly adds real money to a quote, usually somewhere between fifteen and twenty-five percent. It is the least visible money you will ever spend on your property, and it is the difference between a patio you enjoy for twenty years and one you pay to have lifted and relaid in year six.
Ask us to show you the base
We photograph every excavation and compaction lift, and the photos go to you. It is the part of the job you will never see again.